Previous: Step 2: Adding wires
Step 3: Adding text
Adding text to the circuit isn't necessary to make it work; but if you want to show your circuit to somebody (like a teacher), then some labels help to communicate the purpose of the different pieces of your circuit.
Select the "Text" tool (![]() ). You can click on an input pin and start typing to give it a label. (It's better to click directly on the input pin than to click where you want the text to go, because then the label will move with the pin.) You can do the same for the output pin. Or you could just click any old place and start typing to put a label anywhere else.
). You can click on an input pin and start typing to give it a label. (It's better to click directly on the input pin than to click where you want the text to go, because then the label will move with the pin.) You can do the same for the output pin. Or you could just click any old place and start typing to put a label anywhere else.
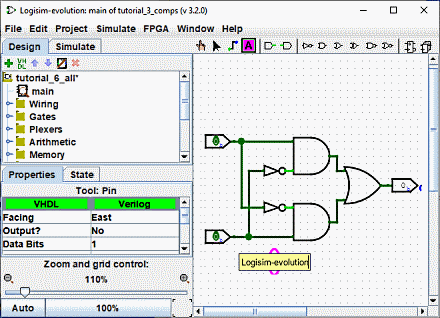
Many components accept labels, for example if you click in one of the doors you can also assign a label
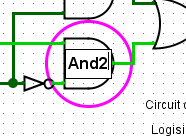
It is possible to modify a label in several other ways.
-
With a double click on the component with the "Edit" tool (
With a click on a label with the "Text" tool (
By editing the property "label" in the attribute table.
